The Artist
Jason Bushey
Growing up in rural Illinois I took to sculpting at a young age making my own toys and games using clay, in my late teens I started to take interest in carpentry and film making. creating short films, building sets, a life size trebuchet, guillotine and eventually a full fledged haunted house for seven years. Creating interactive stories, sets, makeup, and wardrobe. I then attended film school and moved to Los Angeles, working in the arts department, building sets and props for 5 years. After that I relocated to Denver, CO where I continue to work in the arts of theater, events, as well as teaching an "Intro to sculpting" workshop. Creating art is a way for me to express myself freely, as well as financing future projects. Such as stop motion, short films, and of course more sculptures!
I pride myself on being a renaissance man in the art of sculpture. I create each piece out of clay, make the mold, cast, and hand paint each piece. Overseeing each step with my own two hands assures no loss in quality. The process is time consuming, some pieces taking weeks others months, The labor of love.
The Process
Concept/Design
When an idea is at its early stages, I often sketch out a reference and usually sculpt a scaled down version to help visualize what it will take to support the piece. At this stage the "pose" of the piece is at its peek of evolution. I take this time to really hone in on the design of the piece, in order to avoid the painstakingly painful process of changing latter on down the line.
Armature
using hand tools and armature wire I shape out the armature of the sculpture aka the skeleton. or any other fragile/thin parts that need support. At this time I also focus on proportions, such as checking to make sure the arms and legs are the same length etc.
Layers
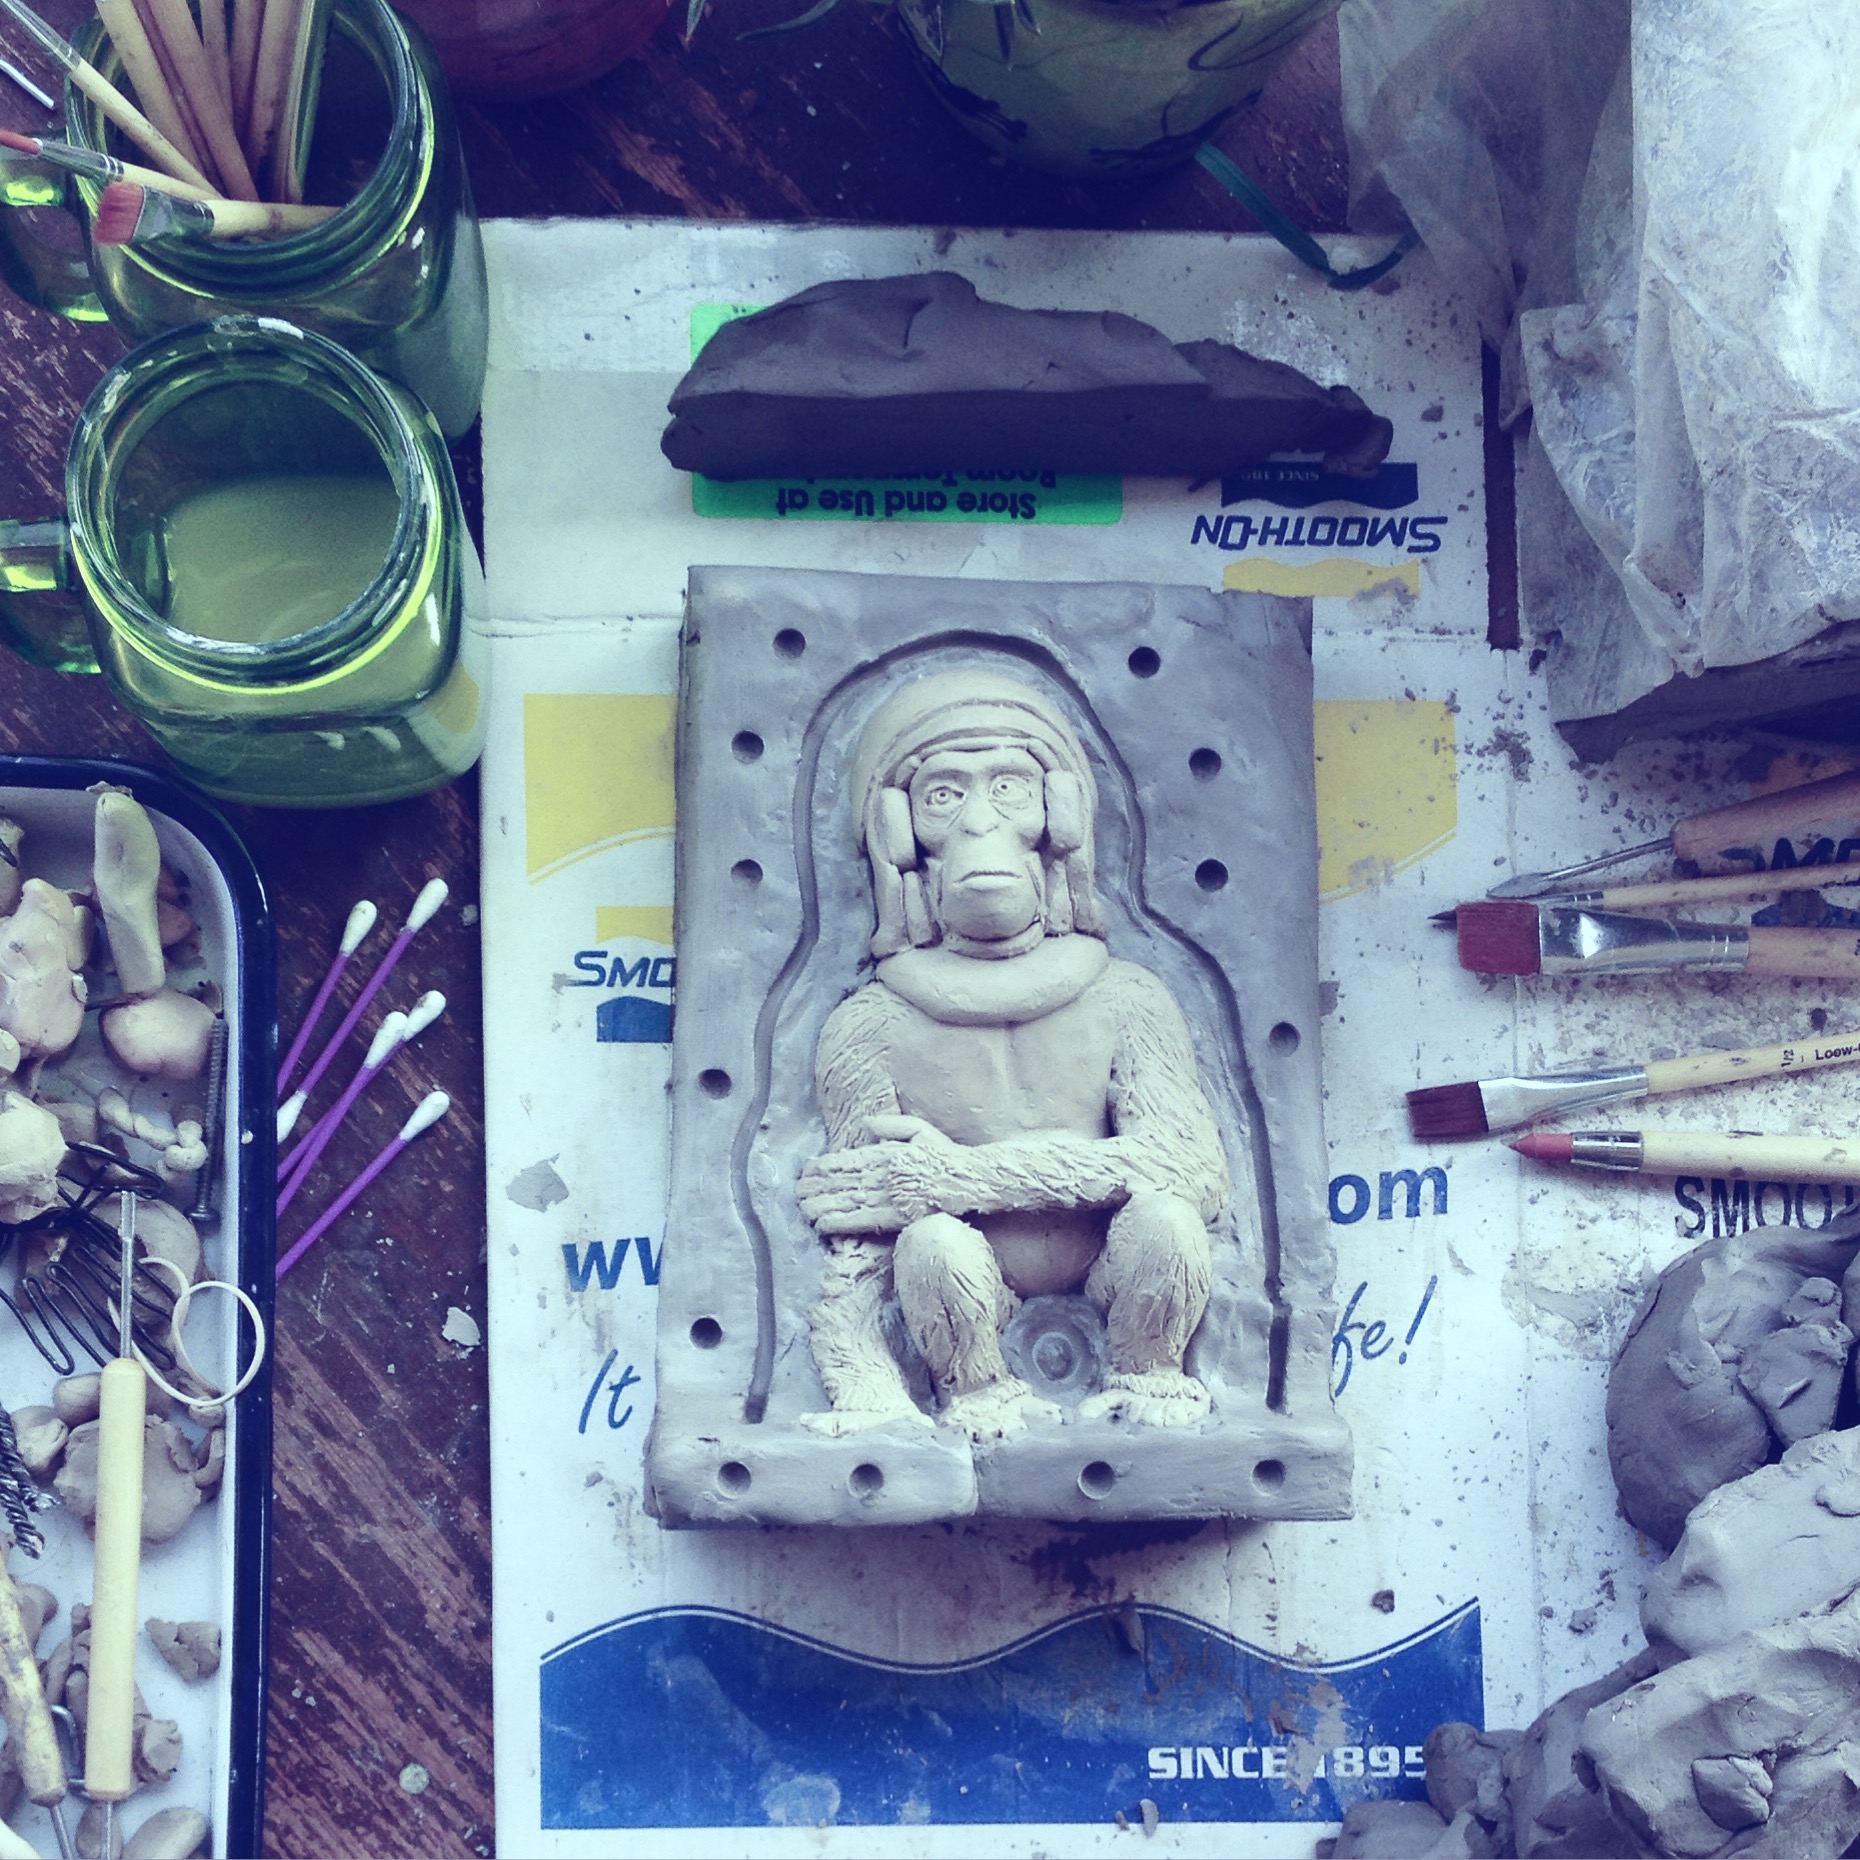
I prefer to build up a piece with layers of clay, often times with pieces representing muscle tissue. Adding and removing is the game now. getting the basic coverage,
Detailing
Now I get down to the dirty deeds, detailing a sculpture can take some time depending on the scale of the project. However this is one of my favorite steps. That tiny wrinkle under the eye, or the fold of a jacket. now is the time I add those little touches that help bring life into a piece.
Mold Making
After I'm done sculpting its time to put on my mold maker hat and get to business. most of my molds are made from silicon rubber. First I in-bead the sculpt into a piece of clay. creating a wall, splitting the sculpture into half. Next I clean up the edge, add "keys" place to help align mold hales. Then I build a box around the piece. mix the silicon and pour.
Mold Making Part 2
After waiting for the mold to cure fully Next I flip over the mold, remove the clay, and clean up the mold. Then I reattach the box around the mold, mix and pour the second half of the mold. once both pieces of the mold are cured, I Then de-mold the sculpture add air vents as needed as well as a pour spout in the mold.
Casting
Once all that jazz is complete, I fit the mold pieces together and wrap them with rubber bands to hold them together. Mix up the casting agents, and pour. Hint: a good way to figure out how much material you will need to cast, by placing your piece into a measuring container filled with water and note the difference in measurement.
Cleanup/Reassemble
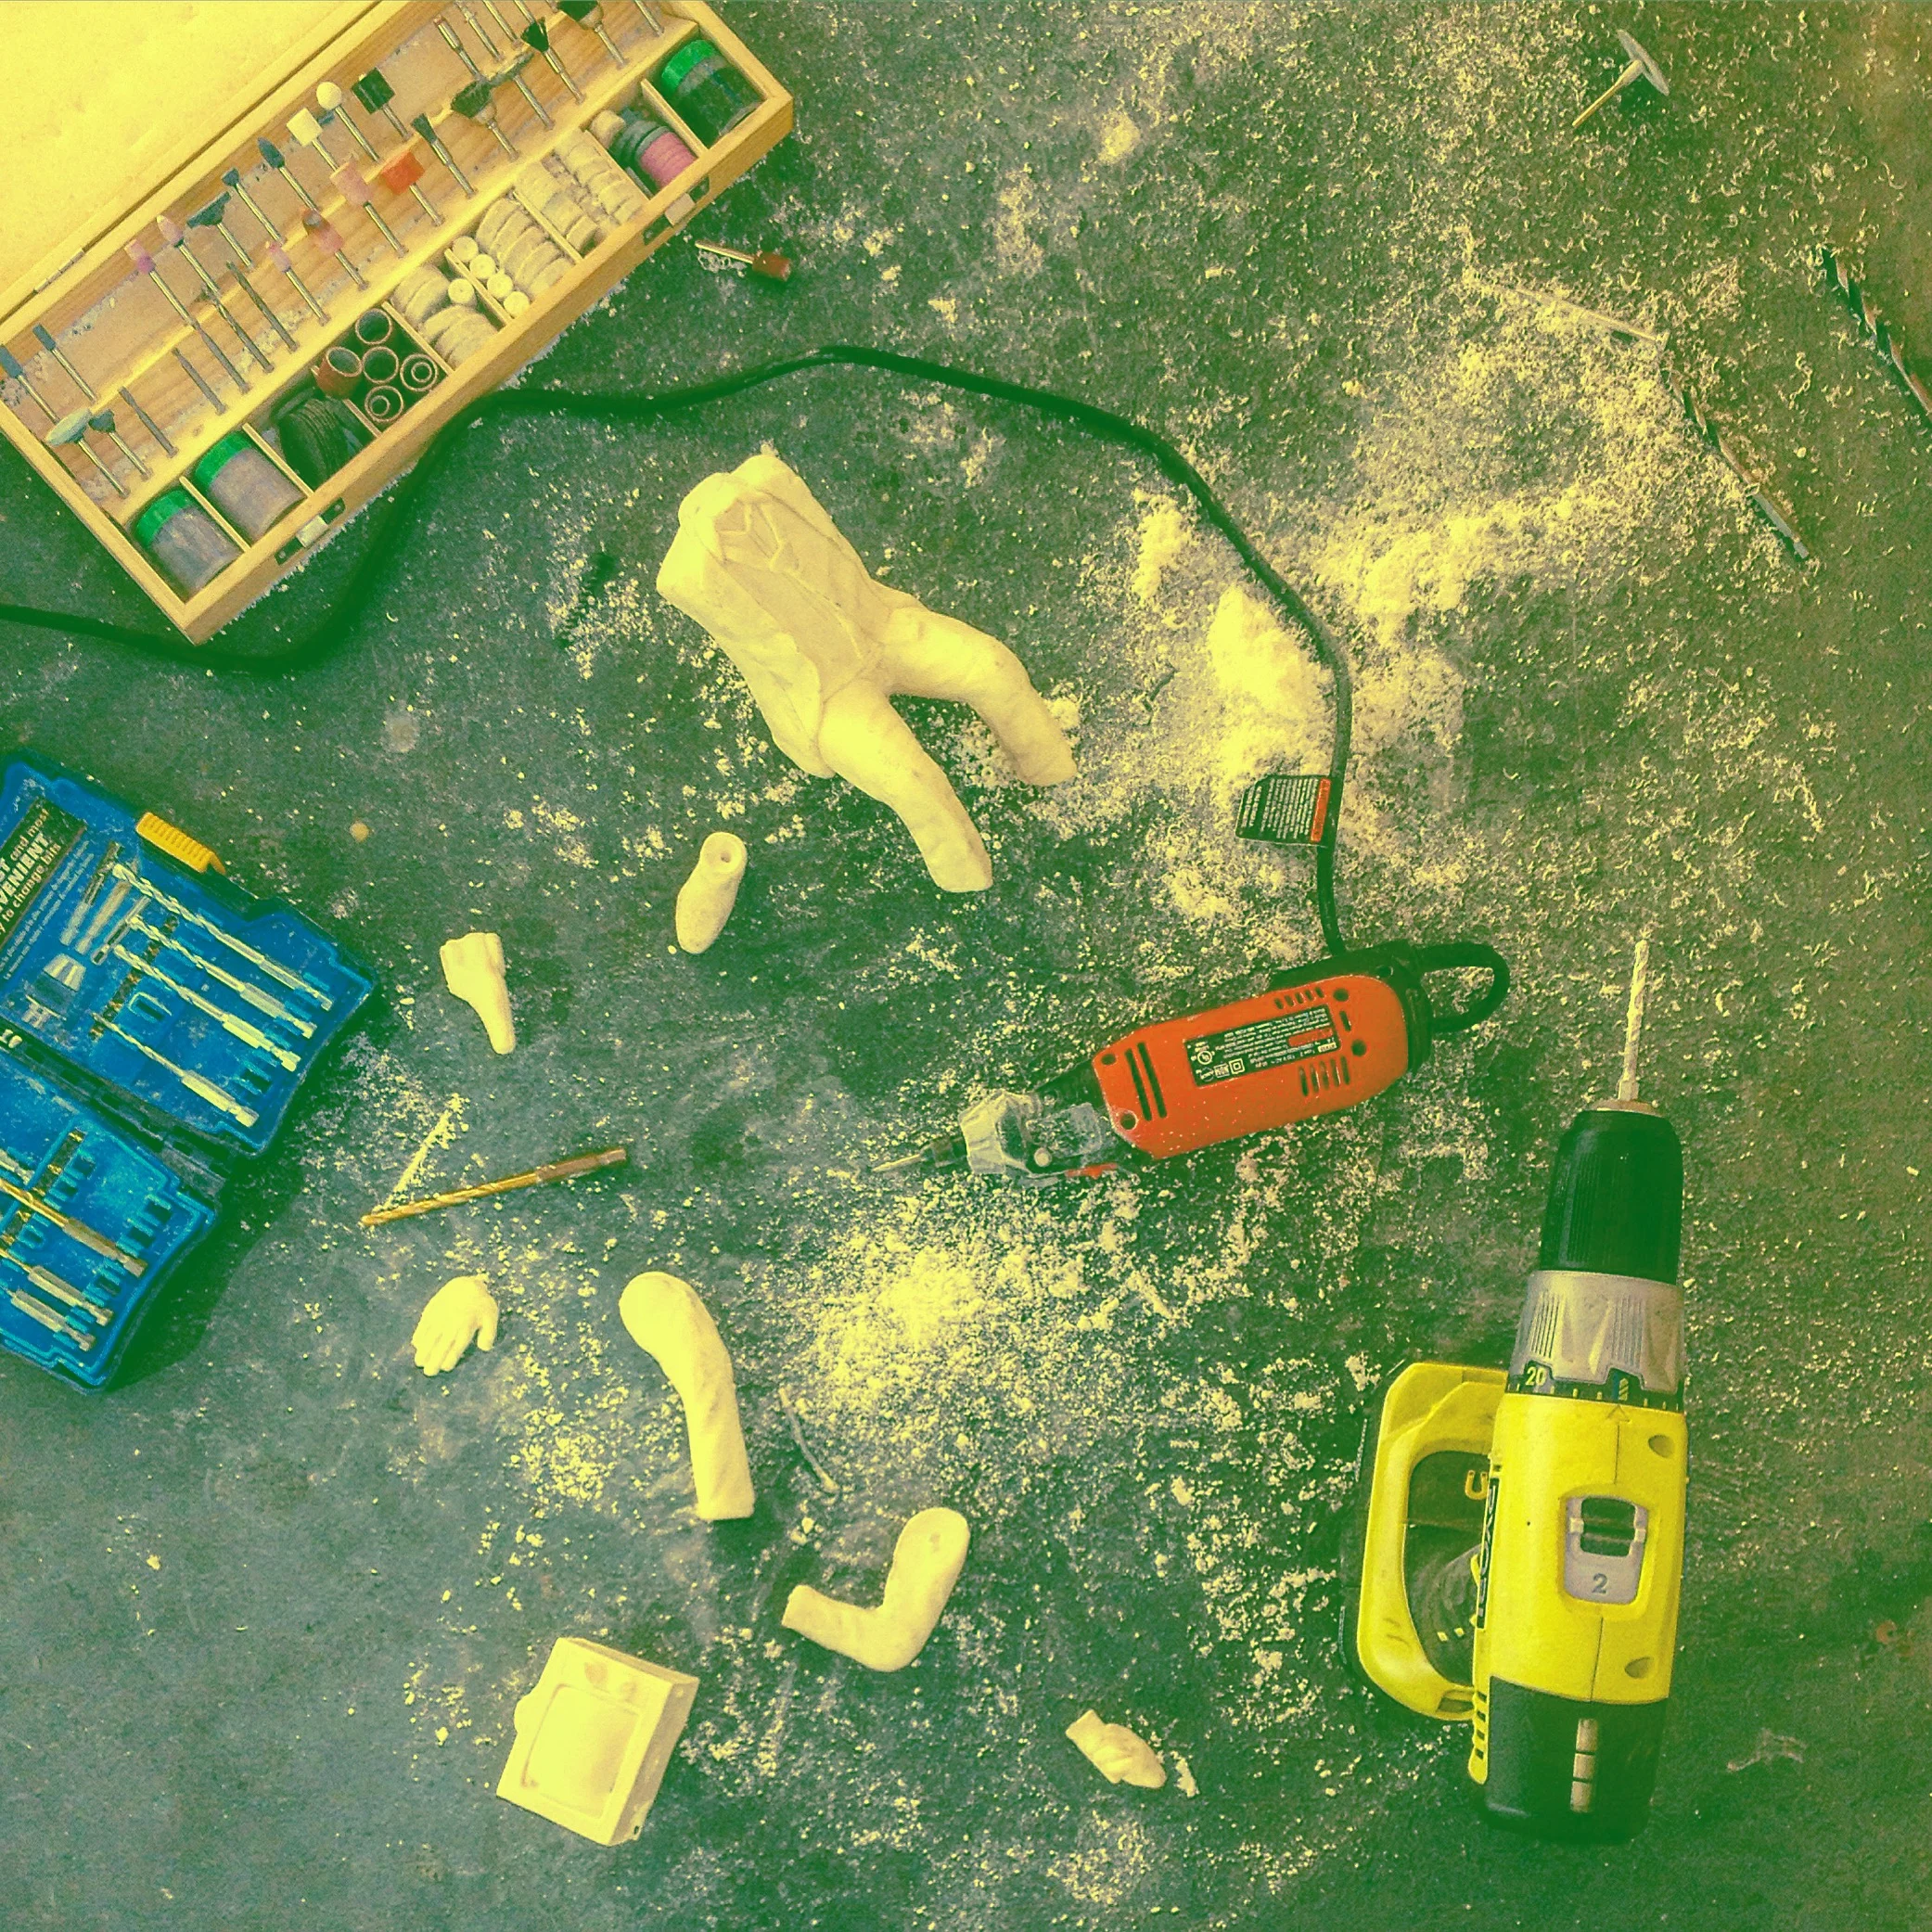
After the cast has cured in the mold, I de-mold the piece and clean up the "Flashing" extra material at the edges of the sculpture where the mold pieces met up. Using a dremmel with an assortment of fittings , I sand down edges and touch up the piece Often times due to the complex nature of a piece, I have to chop up a sculpture into multiple molds. In this case I have to reassemble the sculpture pieces by piece.
Painting
After everything is all said and done, I sit down and hand paint each piece.
Studio Location
The Denver Art Society
734 Santa Fe Dr, Denver, CO. 80204
In the tree house
Contact for appointments


